So my journey down the rabbit hole of corset making continues. In my wanderings through google and YouTube I found reference to a historical corset that was built for a larger bodied lady (see pics below) in a article from Foundations Revealed. https://foundationsrevealed.com/224-historical-corsetry/1880s-corset-patterns/80-plus-size-corset-pattern
 |  |  |
So I set about attempting to follow the pattern that had been created from what was very likely to be a very beautiful and comfortable corset. This one even has elastic fabric strips either side of the back lacing section to give it some extra ease.
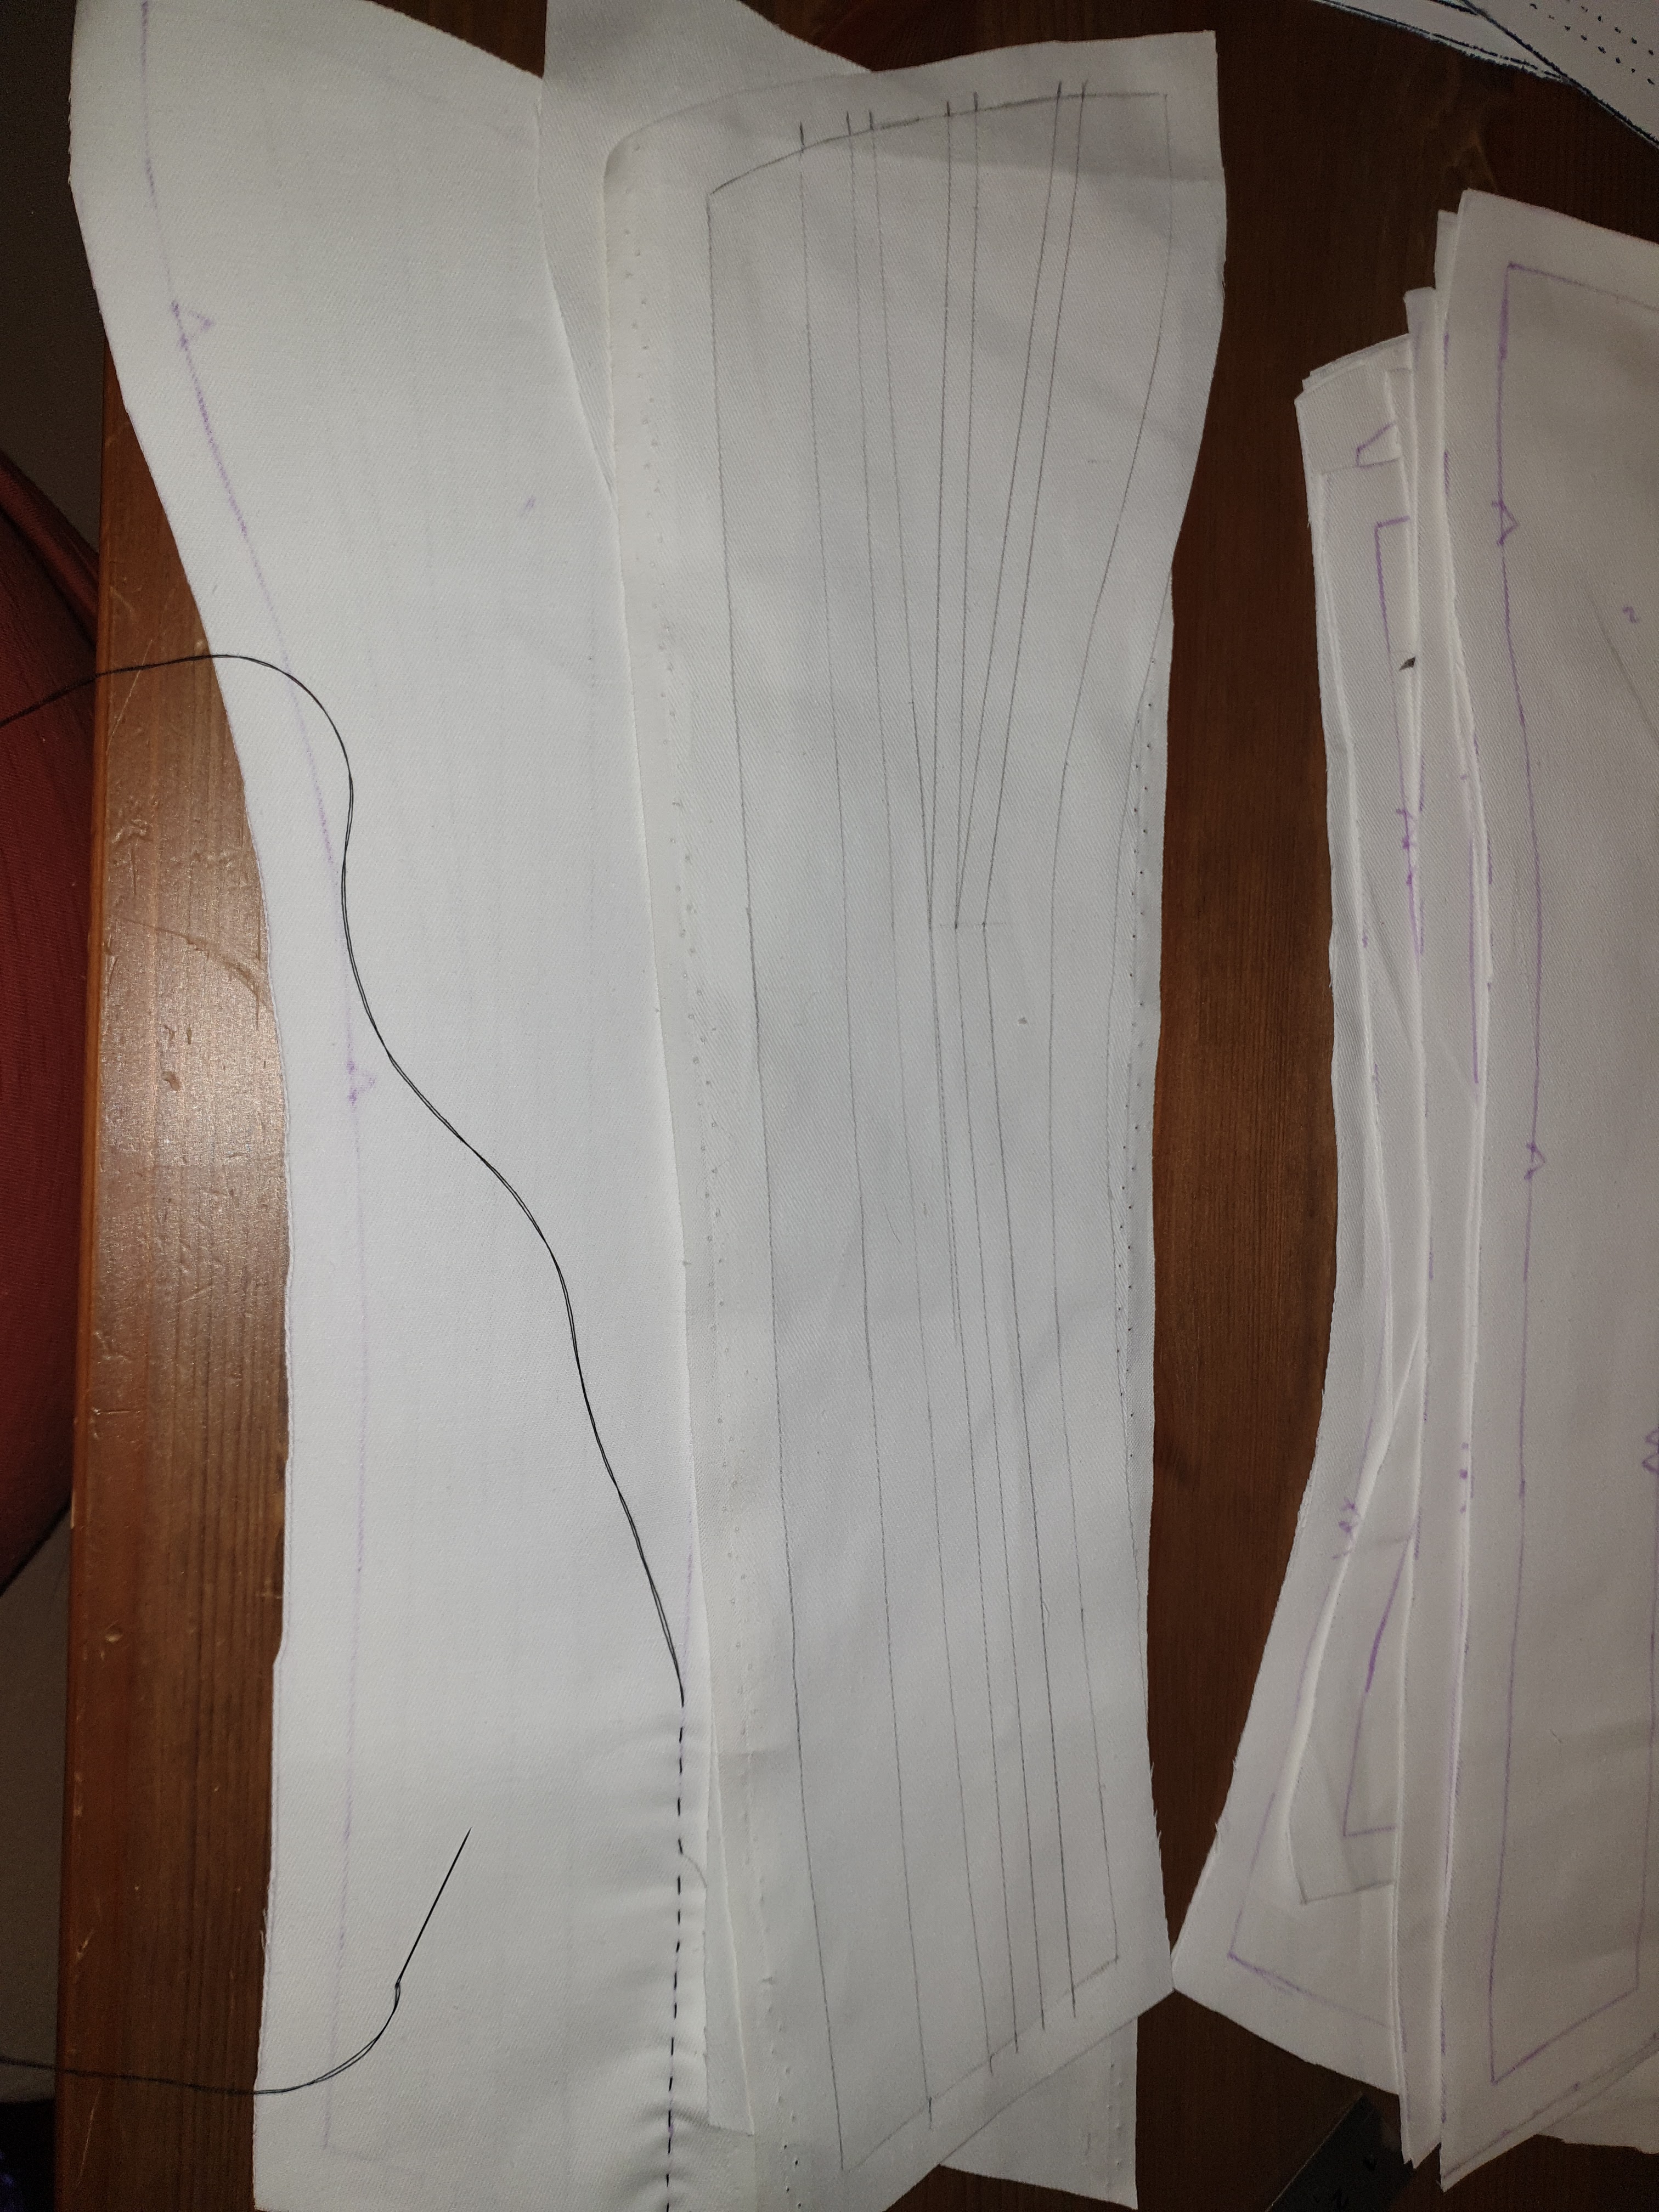
And here is my mock-up. I didn't actually blow up the pattern to its full and proper size as I wanted to just see how panels of a corset look and how they go together. The side panels are doubled up and have a kind of upside down pocket.
 |  |  |
 |  |  |
 |  |
This one was actually quite easy to put together but I only made one half for this part of the process.
After yet watching more YouTube videos from Bernadette Banner and Morgan Donner and reading more articles on corset making I heard about the Symington corset collection. I managed to track down one particular pattern that was mentioned in some articles.
For this one I blew up the pattern to full size (via a couple of trips to Officeworks) so that I could do a full mock-up. During my making of this version my husband bought me an early birthday gift in the form of a dressmakers dummy to fit my size. You can see in the below pictures that I have pinned my Symington corset mock-up to the form and have since split the seams in order to position them around the body in more appropriate places. I have added the boning and cording to this mock-up so that it fits to the dummy better.
 |  |  |
 |  |  |
 |  |  |
 |  |  |
 |
I then went to Spotlight (local fabric shop) to get more cheap fabric, boning and bias tape.
While there I checked out the pattern books and found Burda pattern 7156 which includes patterns for historical undergarments - in particular a shift, split drawers and a corset.
This pattern is capable of making US sizes 10 up to 24. I cut it out at the biggest size. Better for it to be too big and need to take slivers out than it being too small and have to add more.
Once I had some time I set about cutting out this pattern and putting a mock-up together.
I feel like putting this mock-up together went much quicker than the first two even while doing hand stitching.
I have now put together half of this pattern and pinned it over the top of the Symington pattern on my dummy to compare.
As you can see in the below pics the front top edge comes to about the same spot as the Symington corset pattern but the bottom edge is a little shorter which I don't mind.
The bust itself is also bigger although this will change a little when I add the temporary boning but will likely need to be taken in just a little. It will also need just a little extra at the bottom of both the front and the back to make it fit more to my very pear like shape.
Overall though im rather happy with this shape.
This pattern does call for hook and eye tape at the front rather than a full busk but I think it should be easy to adapt.
If you look closely you can see I have marked where the non-seam boning is to go. I am considering adding a couple of rows of cording in strategic places for extra support but I will see how it looks once the main boning goes in.
I will add more pics of how this looks with its boning and the other half done once I am able to do some more sewing.
 |  |  |
 |
In between corset mock-ups I have been tinkering with my new Steampunk dress (need to do the hem and the eyelets for the lacing), its cape (which just needs its hem done and some form of clasp to keep it closed) and a hat (see pics below).
Our theme for this year's Adelaide Steampunk Festival is 100 years of Sir Arthur Conan Doyle so I decided a deerstalker of sorts was a good idea.
My inspiration for my hat comes from one worn by Professor McGonagall that combines deerstalker with traditional witch point.
I have made mine in the same material as my cape and have hand stitched rows of glow in the dark thread around the brim and earflaps for something interesting. I do think I will need to put it under some fluro lights for a while to charge the glow though.
Im also considering adding a tassel to the point with cogs and keys rather than the band around the bottom of the cone which was in the original pattern.
If your interested, I found instructions for this hat here - https://freshfrippery.com/2019/10/22/professor-mcgonagall-inspired-deerstalker-witch-hat-pattern-and-instructions/
 |  |  |
Enough for today. More to come as I add extra to the outfit.
Stay safe everyone.
Amanda
No comments:
Post a Comment